How to Change Wifi Password
A Wi-Fi network allows you to connect your devices to the internet without the need for bulky ethernet cables. However, to keep your internet secure, you’ll need a Wi-Fi password.
Wi-Fi is great for you to connect with your friend via the internet. But a poorly secured Wi-Fi can put your personal information at risk. You should protect your router password and change the password regularly to protecting your network and your data. If you don’t know I will guild you how to change your wifi password.
Step 1: You find your router’s IP address
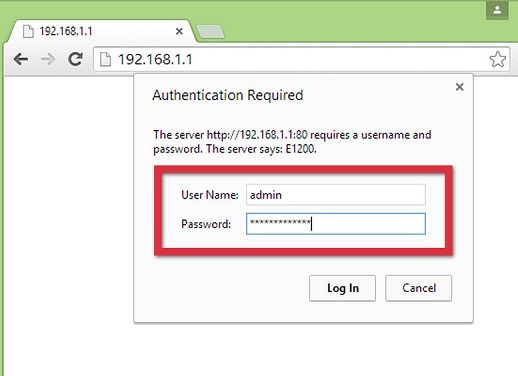
You use any internet browser like Chrome, Firefox on a Pr or Mac, open your router’s configuration page. To do this, you need to type in your router’s default IP address. This is typically 192.168.0.1 or 192.168.1.1.
Step 2: You log into your router
You find the user name & password from the device label
The username and password are often “admin” by default, but you check with your router’s manufacturer or internet service provider if this doesn’t work
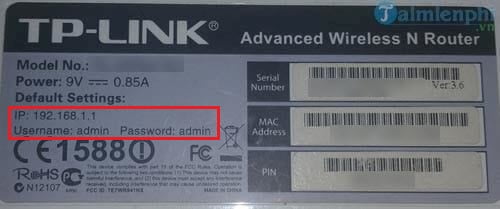
For example, my modem is Tplink, so I type admin/admin
Step 3: Once logged in, you go locate the “Wireless” or “Wireless Security” option. It’ll likely be listed either at the top or left side of the page.
Step 4: In the “Wi-Fi Password” tab, you enter the password you want to use. The safest passwords are long and contain a mix of numbers, letters, and symbols.
If you want to change your Wi-Fi network’s public name (SSID), you select Wireless Setting => Wifi Network Name
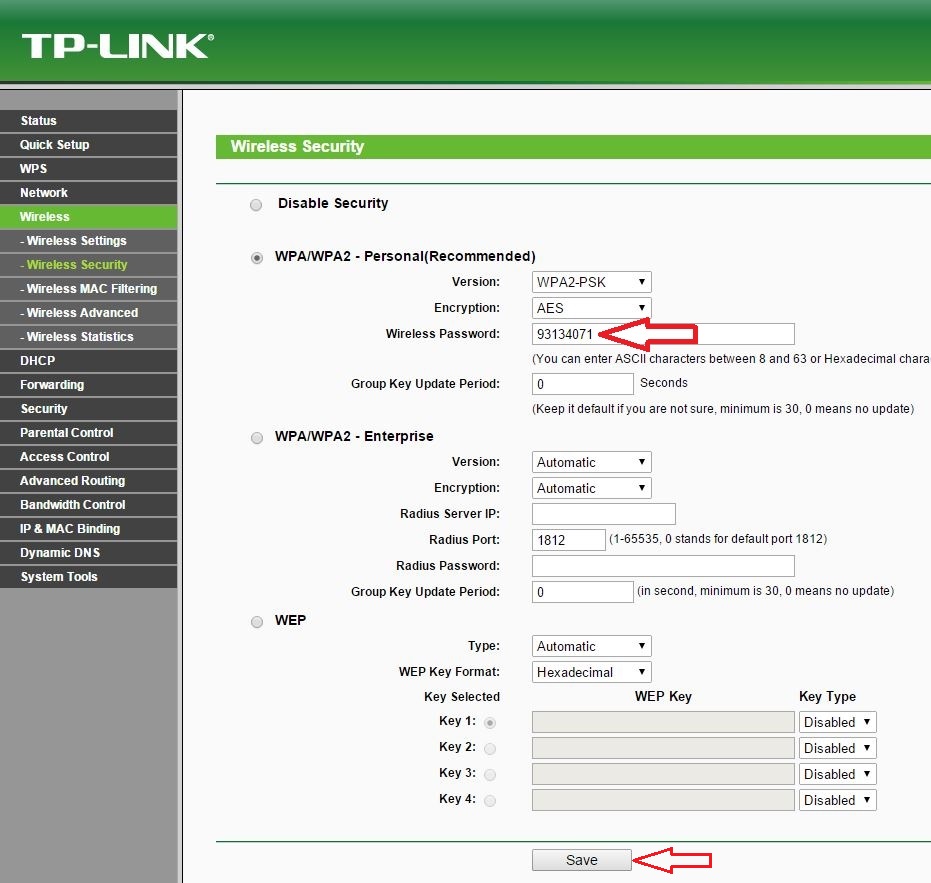
Step 5: Once your changes are completed, scroll down and click “Save” to save the changes. The Wi-Fi password will then be changed immediately.
Done. Now you can use the new wifi password to connect wifi.
Tag: how to change wifi password, how to change wifi name